


In this post I will show you that how you can install ParrotOS in separate disk partition along with Windows10.In this way we have two operating system in a single harddisk with separate partitions & we can boot any OS from bootloader.
Note : This guide is solely for GUID (GPT) partitioned based harddisk with UEFI boot environment. Please turn off the secure boot option in your UEFI boot menu.
Steps to configure dual boot
- First you have to install Windows 10 on your system.
- Download the ISO file of ParrotOS from official site.
- Create a new partition with enough space for your second OS in our case Parrot OS. Use BalenaEtcher Tool to make pendrive bootable
- Make you pen drive bootable with ParrotOS.
- Plug you pen drive with system & boot your system from it (press f12 continually).
- Select the live boot option.
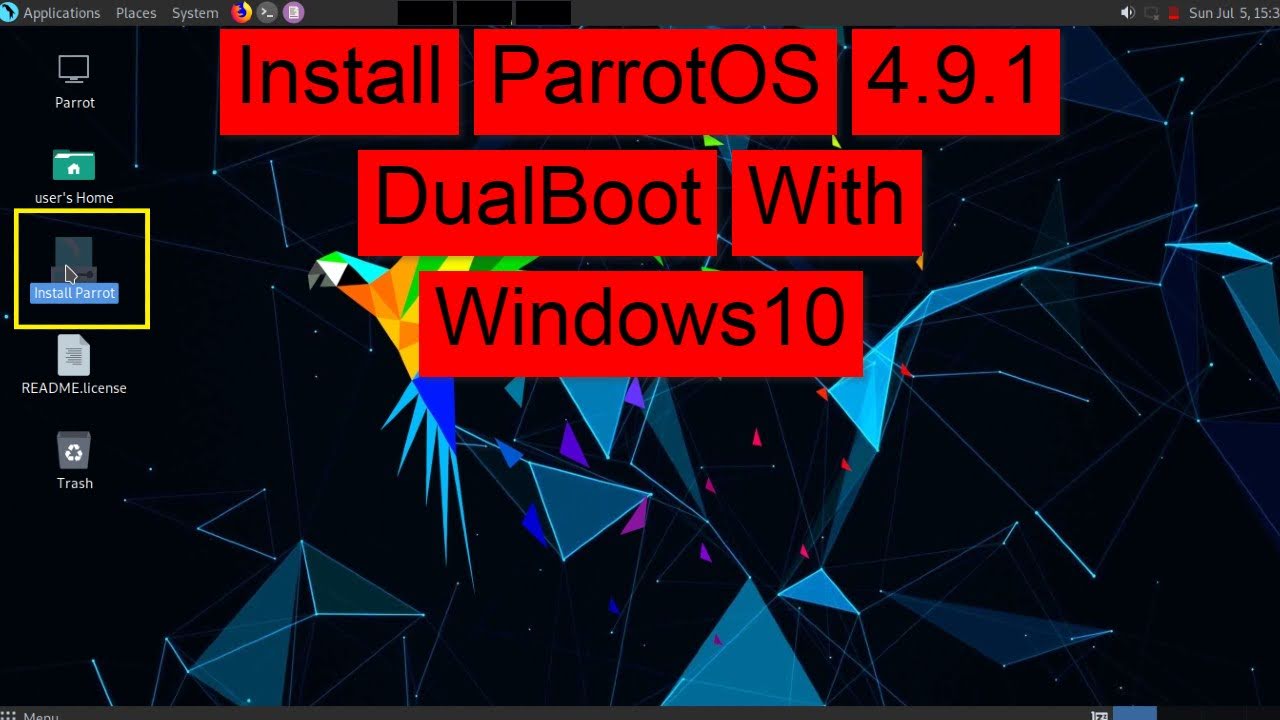
- After you get the home windows , click on the 'Install Parrot' icon in order to install ParrotOS.

- On Welcome screen select your language preferences & click next.

- Next you have to select the location & click next.

- Select keyboard layout from the list & click next.

- On Partitions , You have to select the manual partitioning & click next. If you notice (see below pic), you can read the comment below the option that for GPT partition table & FAT32 /boot partition is must for UEFI installs. Keep that in your mind.

- Select the partition in which you want to install Parrot OS.If it is already formatted delete it & create or edit the partition. perform this step very carefully

- If you want to separate the / (root) , home , swap and other partitions then change the size accordingly otherwise don't change it.
-Select the File System accordingly for your operating system.
-Select the Mount Point for your root , home , swap & other partitions.
-If you attach Flags then click accordingly otherwise you can skip that.
-Click OK
If you don't want to create separate mount points then select mount point as root ( / ) as shown in below picture.

- Now find the partition which we had discussed above at start of installation. That is FAT32 filesystem (see below pic).
- Select that partition & click edit.

- Don't change anything except in Mount Point. Change it to /boot/efi & click to ok.

- In next step fill user information in order to create a new user. And click next.

- At last, view the configured summary of your system.

- Click on install.
- Wait until the installation process will be completed.
Now might be your Windows 10 will not show in your GRUB boot menu. Please follow these steps in order to add Windows 10 in GRUB boot menu.
Sharing is Caring😀


0 Comments